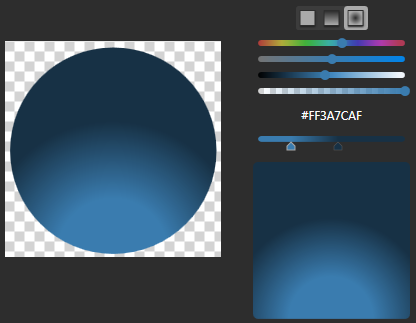
This button will be the standard bottom-lit, shiny orb. To get started, create the main part of the button by adding an ellipse with a radial gradient starting at the bottom.

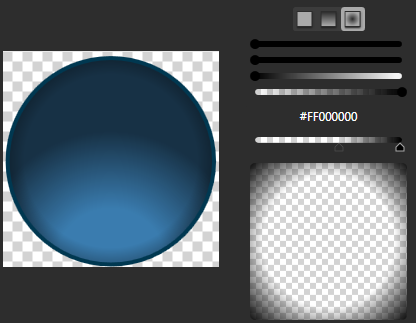
Add a concentric ellipse atop the previous one. This one will provide both the border, and some shading to give the button a rounder look. Alternately, the border could have been added on the first ellipse. Once you're happy with the border thickness (make sure it's thick enough to make the button stand out a bit), add a short radial gradient from transparent to solid black. If you're using Vectropy, you can smoothly adjust the gradient by scrolling your mouse wheel over the gradient editor.

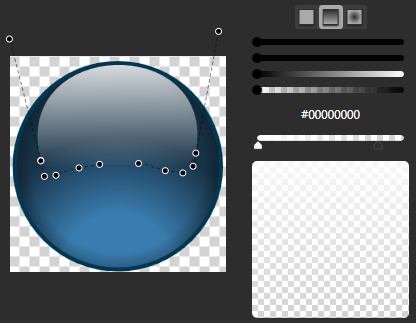
To make the button appear shiny, shape a highlight on the top of the button. Different shapes will indicate different lighting conditions. Feel free to check out various examples of these buttons around applications you use and see which highlight style you like best. Once you have your highlight in the shape you prefer, simply add a gradient from nearly-solid white to nearly-transparent white.

Now add whatever content or labels you want your button to have.

Depending on your circumstances, you may want your button to be opaque to provide contrast and make it obvious on your interface, or you may want a slightly transparent look to really give the glassy look.

1 comment:
Quite informative and useful. Thanks...
Regards,
image to vector conversion
Post a Comment