We'll look at two different ways. The first method is by combining multiple shapes to create a single more complex shape. So, I guess we'll need some shapes. To get some quick shapes, I first created one of the items from the preset library (right click the preset button to quickly browse available presets).
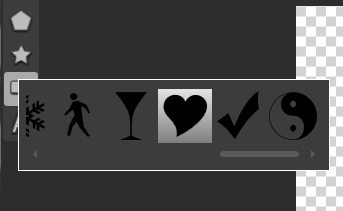
Then, just for some variety, I used the text tool to create the second shape: a smiley face, rotated vertically.
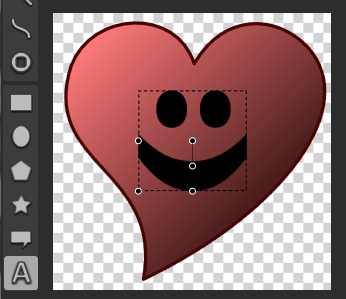
To intersect objects, select all of the shapes you would light to merge, then right click and select "Merge".
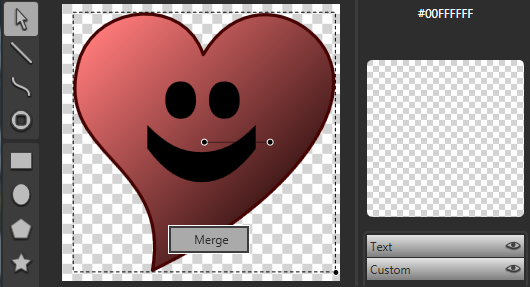
You will now have a single merged shape:
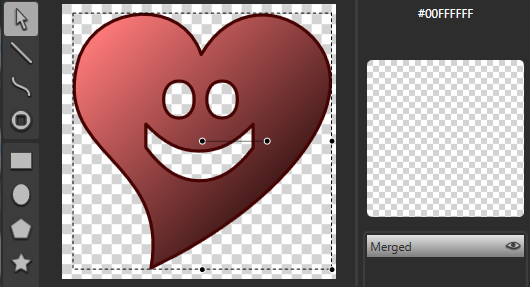
It's worth noting that your new shape is purely a vector object. The font used to create the text simply created a vector object in the shape of the characters (even before merging). This means you'll never have to worry about a missing font on the user's computer, nor will you have to concern yourself with bundling font files in your application (and all the legal issues that arise from redistributing fonts). If you edit the merged object, you can see the new, more complex shape, as well as the vector outline of the text.
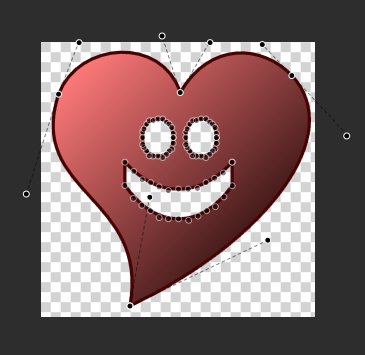
Now that you know how to intersect shapes, you can see the other method of creating holes: the holepunch tool. While editing an object you can use the holepunch tool to poke a hole (or create a separate region outside the original object).
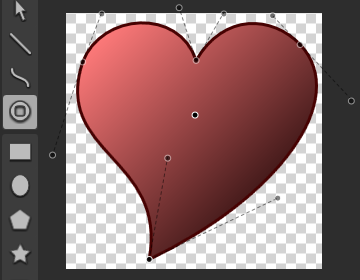
Once the new region is created, you can use the regular line tools to add to it, shaping the hole.
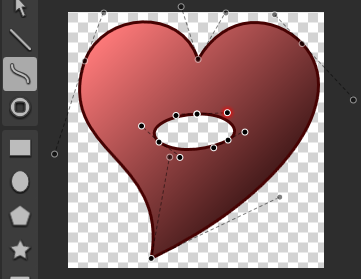
You have now seen how to create composite shapes in Vectropy. Try playing with the fill options for your merged shapes to see the different ways of filling shapes with holes. For example, the "non-zero" fill method will fill the entire shape, even the holes, making what used to be holes into additional disjoint outlines within the shape.
1 comment:
I try to do one composite shape using this. The result i got is really nice.
Thanks for sharing...
Regards,
graphic illustrator
Post a Comment